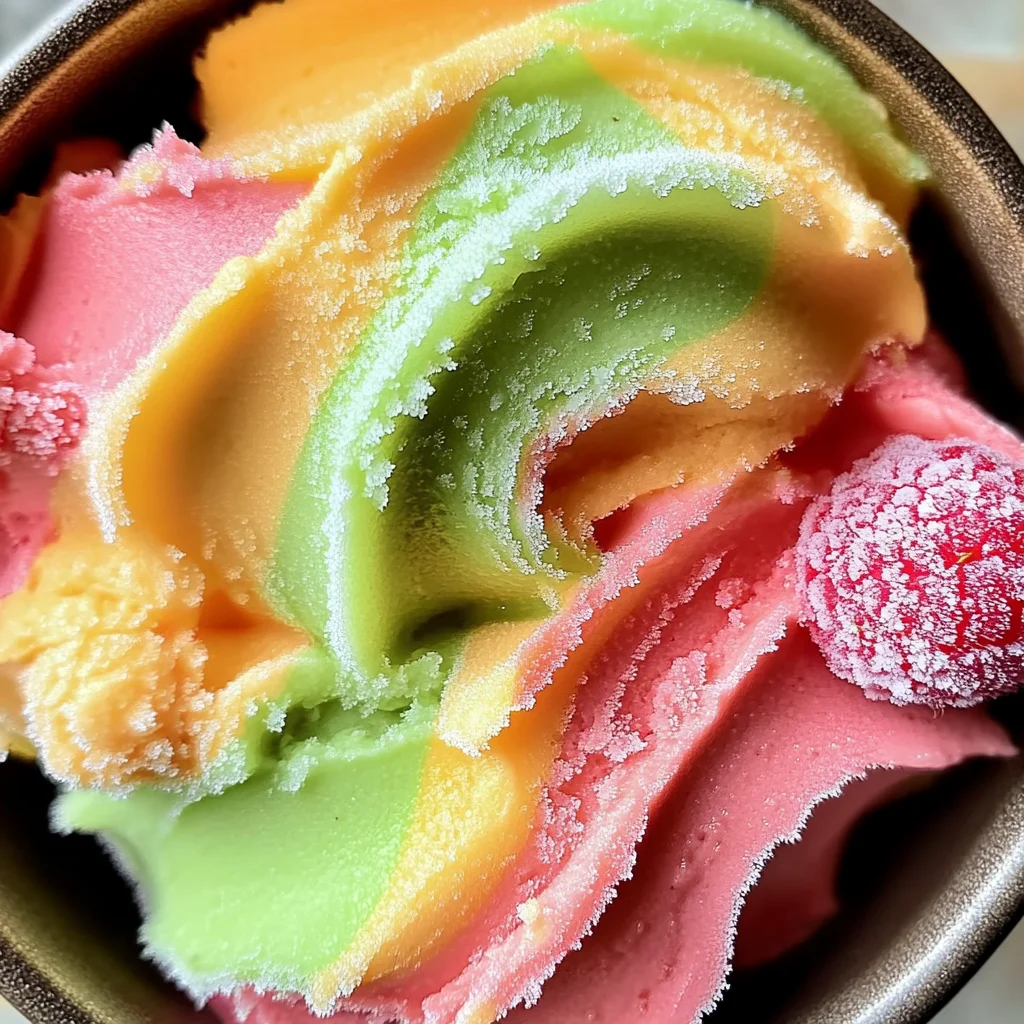
Homemade Rainbow Sherbet
Indulge in the vibrant and refreshing delight of Homemade Rainbow Sherbet, a colorful frozen dessert that captures the essence of summer in every scoop. This delightful treat is perfect for parties, barbecues, or simply a fun way to cool off on a warm day. With its creamy texture and customizable flavors, this homemade version outshines any store-bought option. Impress your guests and satisfy your sweet tooth with this easy-to-make sherbet that’s as pleasing to the eyes as it is to the palate!
Why You’ll Love This Recipe
- Colorful Presentation: The vibrant layers of fruit create an eye-catching dessert.
- Customizable Flavors: Use any combination of fruit juices to suit your taste preferences.
- Easy to Make: With simple steps and accessible ingredients, anyone can create this treat.
- Perfect for Any Occasion: Whether it’s a summer party or a family gathering, this sherbet fits right in.
- Refreshing Taste: The fruity flavors provide a light and enjoyable sweetness without being overpowering.
Tools and Preparation
To make your Homemade Rainbow Sherbet, you’ll need some essential tools that will help you achieve the perfect consistency and presentation for your dessert.
Essential Tools and Equipment
- Ice cream maker
- Saucepan
- Fine mesh sieve
- Mixing bowls
Importance of Each Tool
- Ice cream maker: Churns the mixture to create a smooth, creamy texture that’s hard to replicate by hand.
- Saucepan: Used for heating the cream and milk mixture, ensuring sugar dissolves evenly.
- Fine mesh sieve: Helps strain out seeds from the raspberry puree for a smoother finish.
Ingredients
For the Base
- 1 1/2 cups heavy cream
- 1 1/2 cups whole milk
- 1 3/4 cups granulated sugar (divided)
- 1 teaspoon vanilla extract
For Flavoring
- 3/4 cup orange juice
- 1/2 cup lime juice
- 8 ounces raspberries
How to Make Homemade Rainbow Sherbet
Step 1: Combine Cream and Milk
In a saucepan, combine heavy cream, whole milk, and 1 cup of sugar. Heat over medium heat until dissolved (about 5-7 minutes). Remove from heat and stir in vanilla extract. Allow it to cool completely.
Step 2: Prepare Raspberry Puree
Blend raspberries with 2 tablespoons of sugar. Strain through a fine mesh sieve to remove seeds, ensuring a smooth puree.
Step 3: Churn the Base
Pour the cooled base into an ice cream maker. Churn until it reaches soft serve consistency.
Step 4: Divide and Color the Mixture
Divide the churned base into two parts. Mix one part with orange juice along with orange food coloring; mix the other part with lime juice and green food coloring.
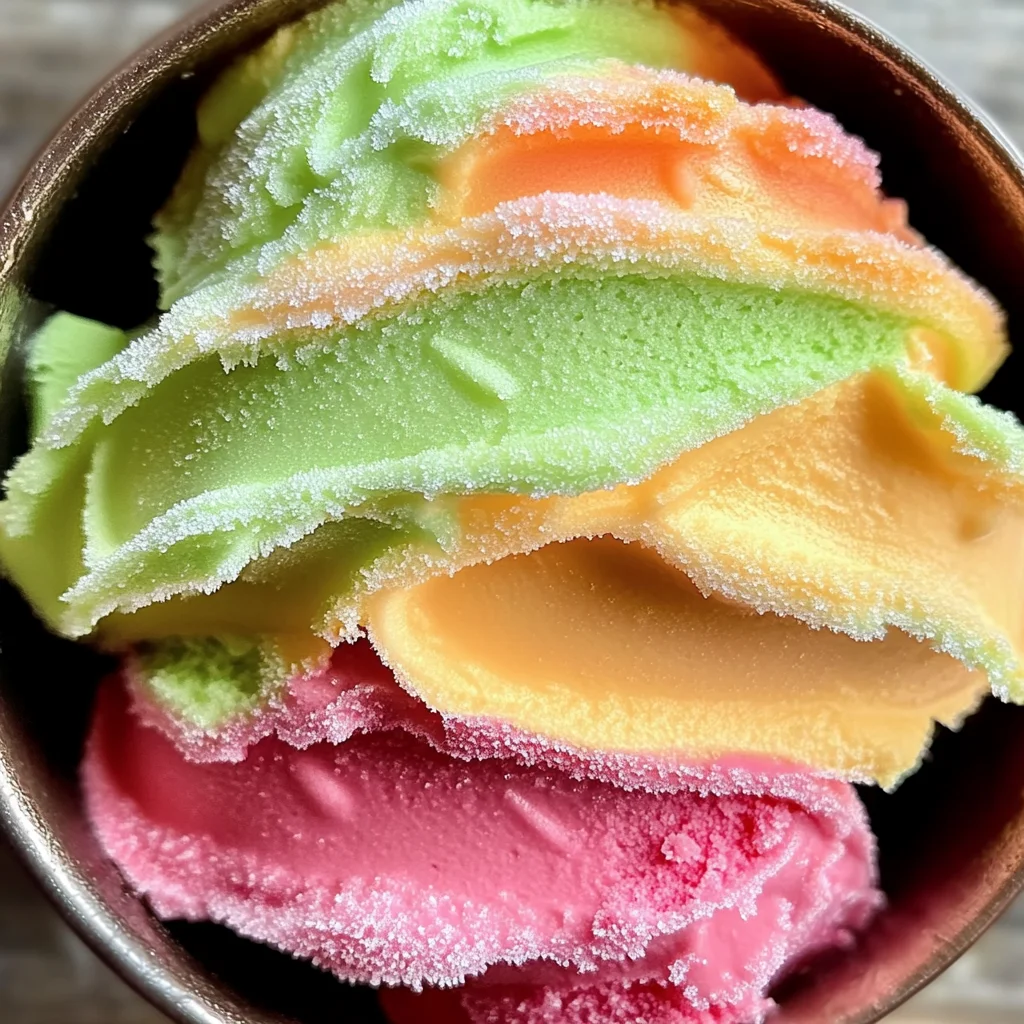
Step 5: Layer Flavors
Layer the mixtures in a container, alternating between raspberry, lime, and orange mixtures. Freeze for 4-6 hours until firm.
Now you’re ready to enjoy your Homemade Rainbow Sherbet! This recipe not only satisfies your sweet cravings but also serves as a stunning centerpiece at any gathering.
How to Serve Homemade Rainbow Sherbet
Homemade Rainbow Sherbet is not only a treat for the taste buds but also a feast for the eyes. Serving this colorful dessert can enhance its appeal and make any occasion special. Here are some delightful ways to present your sherbet.
In Colorful Bowls
- Use bright, fun bowls to serve individual portions of sherbet, enhancing the visual appeal.
As a Layered Dessert
- Create layers of sherbet in clear glasses for an elegant presentation. This allows guests to see the beautiful colors.
With Fresh Fruit Garnishes
- Top each serving with fresh fruit like berries or citrus slices for added flavor and texture.
Alongside Cake or Pie
- Serve scoops of sherbet next to slices of cake or pie for a refreshing contrast to rich desserts.
In a Waffle Cone
- Offer servings in waffle cones for a fun, portable dessert option that guests can enjoy on-the-go.
How to Perfect Homemade Rainbow Sherbet
Perfecting your Homemade Rainbow Sherbet can elevate this delightful dessert even further. Follow these tips for the best results.
- Use Fresh Fruits: Opt for fresh fruit juices and purees to enhance flavor and quality.
- Chill Ingredients: Ensure all ingredients are well-chilled before mixing; this will help achieve a smoother texture.
- Don’t Rush Churning: Allow the ice cream maker enough time to churn properly; this creates a creamier consistency.
- Layer Carefully: When layering flavors, pour slowly to avoid mixing and maintain distinct colors.
- Taste Before Freezing: Adjust sweetness by tasting the mixture before freezing; feel free to add more sugar if needed.
Best Side Dishes for Homemade Rainbow Sherbet
Pairing your Homemade Rainbow Sherbet with complementary side dishes can create a delightful spread. Here are some tasty options that go well with this frozen treat:
- Fruit Salad: A mix of seasonal fruits provides freshness and balances the sweetness of sherbet.
- Cheesecake: The rich creaminess of cheesecake pairs beautifully with the fruity flavors of sherbet.
- Chocolate Chip Cookies: Classic cookies offer a chewy texture that contrasts nicely with frozen desserts.
- Pavlova: This light meringue dessert topped with fruit complements the sherbet’s creamy texture perfectly.
- Brownies: Rich, fudgy brownies provide an indulgent counterpart to the refreshing sherbet.
- Mini Tarts: Fruit tarts filled with custard offer another layer of fruity goodness alongside your sherbet.
- Granola Parfaits: A layered parfait made with yogurt and granola adds crunch and creaminess, enhancing your dessert experience.
- Savory Cheese Platter: A selection of cheeses can create an interesting contrast between sweet and savory flavors when served alongside sherbet.
Common Mistakes to Avoid
Making Homemade Rainbow Sherbet can be a fun experience, but it’s important to avoid common pitfalls.
- Using overly sweet fruit juices: Ensure the fruit juices you select are fresh and not overly sweet. This will help maintain a balanced flavor in your sherbet.
- Not cooling the base properly: After heating the cream and milk mixture, let it cool completely before churning. This step ensures a better texture.
- Skipping the straining process: When blending raspberries, always strain the puree. This removes seeds and creates a smooth consistency for your sherbet.
- Over-churning the mixture: Keep an eye on your ice cream maker. Churn just until soft serve consistency is achieved; overdoing it can lead to a grainy texture.
- Forgetting about layering: When pouring into the container, layer your flavors carefully. This not only enhances visual appeal but also ensures each scoop has a mix of flavors.
Storage & Reheating Instructions
Refrigerator Storage
- Store in an airtight container for up to 2 days if you choose to keep some additional servings fresh.
- Make sure to cover the top with plastic wrap before sealing to prevent ice crystals from forming.
Freezing Homemade Rainbow Sherbet
- Freeze in an airtight container for up to 2 months for optimal freshness.
- If you want to keep it longer, consider using freezer-safe bags to save space.
Reheating Homemade Rainbow Sherbet
- Oven: Not recommended as sherbet should remain frozen.
- Microwave: Use low power for brief intervals if needed, but this may affect texture.
- Stovetop: Not suitable as sherbet is meant to be enjoyed frozen.
Frequently Asked Questions
Here are some common questions about making Homemade Rainbow Sherbet.
How long does Homemade Rainbow Sherbet last?
Homemade Rainbow Sherbet can last up to 2 months in the freezer when stored properly.
Can I use different fruits for my Homemade Rainbow Sherbet?
Absolutely! Feel free to experiment with various fruits like mangoes or strawberries for unique flavors.
What dairy alternatives can I use in Homemade Rainbow Sherbet?
You can substitute heavy cream and whole milk with coconut cream and almond milk for a dairy-free version.
Is Homemade Rainbow Sherbet easy to make?
Yes! With simple ingredients and steps, anyone can create this delightful dessert at home.
Final Thoughts
Homemade Rainbow Sherbet is a delightful dessert that captures summer’s essence in every colorful scoop. Its creamy texture and customizable flavors make it perfect for any occasion. Try experimenting with different fruits or add-ins like mint for even more delicious variations!
Homemade Rainbow Sherbet
Indulge in the refreshing joy of Homemade Rainbow Sherbet, a colorful frozen treat perfect for summer gatherings or simply cooling off on a warm day. With its creamy texture and vibrant fruit flavors, this delightful dessert not only dazzles the eyes but also satisfies your sweet cravings. Easy to make and customizable with your favorite fruit juices, this homemade sherbet is sure to impress guests and become a staple in your dessert repertoire. Enjoy each scoop as a light, fruity escape that captures the essence of summer in every bite.
- Prep Time: 20 minutes
- Cook Time: 10 minutes
- Total Time: 30 minutes
- Yield: Approximately 6 servings 1x
- Category: Dessert
- Method: Churning
- Cuisine: American
Ingredients
- 1 1/2 cups heavy cream
- 1 1/2 cups whole milk
- 1 3/4 cups granulated sugar (divided)
- 1 teaspoon vanilla extract
- 3/4 cup orange juice
- 1/2 cup lime juice
- 8 ounces raspberries
Instructions
- In a saucepan, combine heavy cream, whole milk, and 1 cup of sugar. Heat over medium heat until sugar dissolves (about 5-7 minutes). Remove from heat and stir in vanilla extract. Allow to cool completely.
- Blend raspberries with 2 tablespoons of sugar; strain through a fine mesh sieve for a smooth puree.
- Pour the cooled base into an ice cream maker and churn until soft serve consistency.
- Divide the mixture into two parts; mix one with orange juice and food coloring, the other with lime juice and green food coloring.
- Layer the mixtures in a container alternately, then freeze for 4-6 hours until firm.
Nutrition
- Serving Size: 1/2 cup (120g)
- Calories: 230
- Sugar: 35g
- Sodium: 50mg
- Fat: 11g
- Saturated Fat: 7g
- Unsaturated Fat: 3g
- Trans Fat: 0g
- Carbohydrates: 33g
- Fiber: 1g
- Protein: 3g
- Cholesterol: 40mg